
Introduction
Recently I noticed that my little blog has traffic all over the world, which is amazing! However, the user experience might not be equally amazing in places far from where my host is located. Luckily, this is easy to fix with a Content Delivery Network (CDN).
What is a CDN?
A CDN, or Content Delivery Network, is a system of servers that deliver content to users based on their geographic location. CDNs are often used to deliver web content, such as images, videos, and other types of media, to users in a fast and efficient manner.
CDNs work by replicating the content they are serving on servers located in different parts of the world. When a user requests content from a CDN, the CDN uses algorithms to determine the user’s location and then delivers the content from the server that is geographically closest to the user. This helps to reduce the time it takes to deliver the content and can improve the user experience by providing faster loading times.
CDNs are particularly useful for serving content to users located far from the origin server, as it can take a long time for content to be delivered over long distances. They also help reduce the load on the origin server and improve the overall performance of a website or application.
Setting Up Azure CDN for WordPress
My blog is built on WordPress, and I use the WP Rocket plugin for performance optimization. WP Rocket makes it easy to use any CDN endpoint, and I chose Azure for this purpose.
Step 1: Create a CDN Profile
- Go to the Azure Marketplace and select Azure Front Door and CDN Profiles.
- Ensure that the Microsoft.Cdn resource provider is enabled in your subscription if the option doesn’t appear.
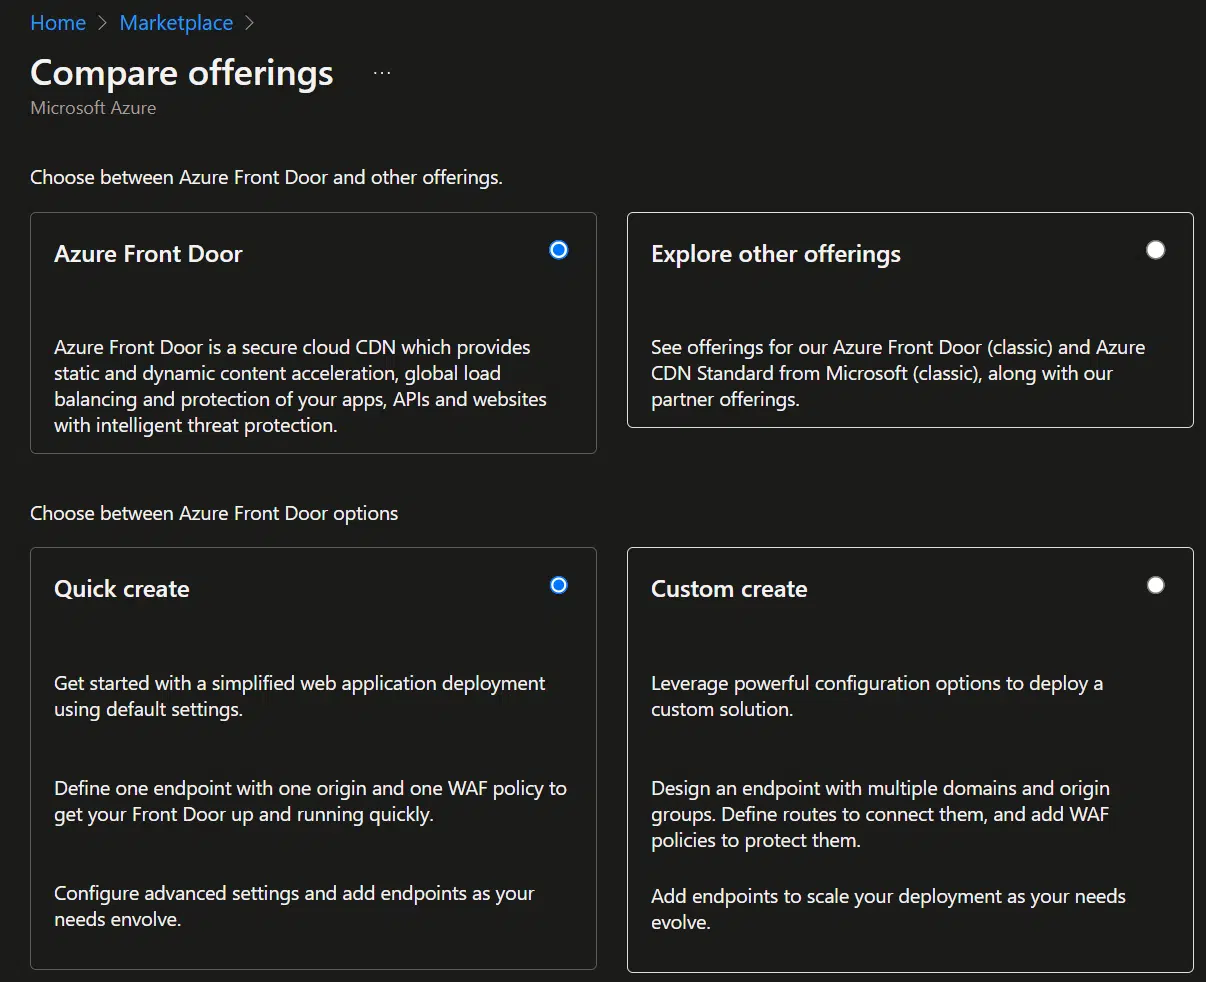
Step 2: Use Quick Create
Select the Quick create option to set up the CDN. The default settings are sufficient for most use cases. Azure also offers legacy options labeled as “classic,” but these are not necessary for modern setups.
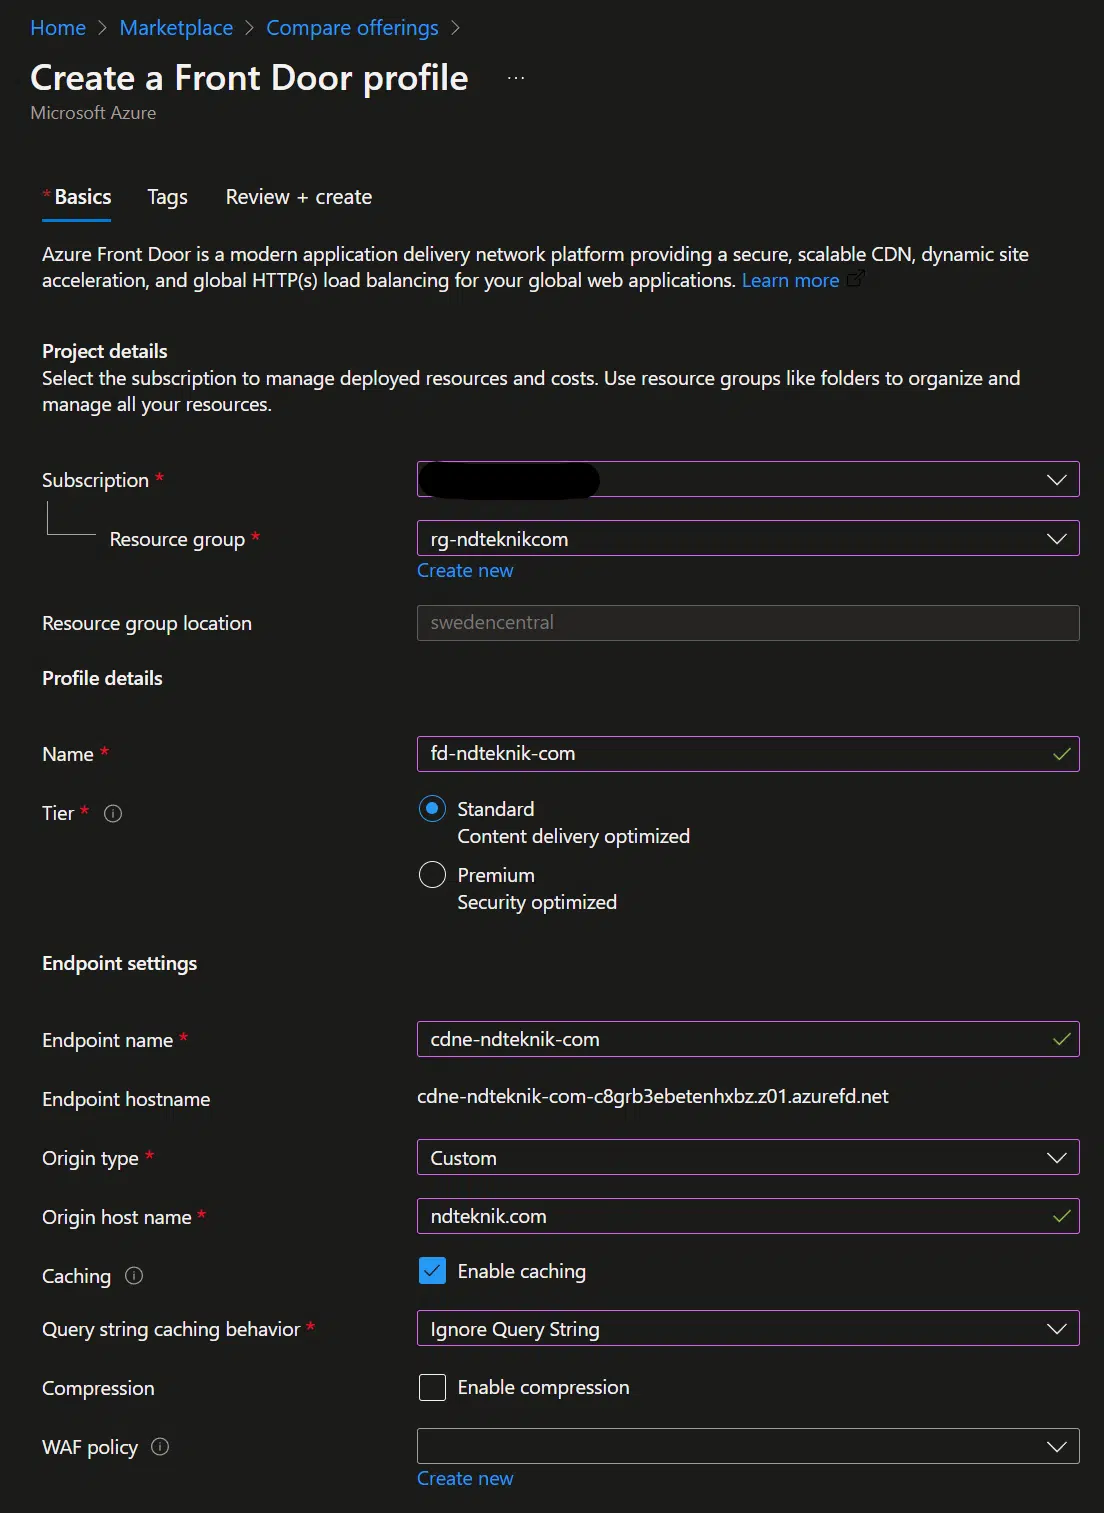
Step 3: Configure Options
After creating the CDN, configure the following options:
- Origin Type: Since my blog isn’t hosted on Azure, I selected the Custom option and entered my host name.
- Query String Caching Behavior: This determines how AFD caches content behind various endpoints. The default settings worked for me, but you can customize them as needed.
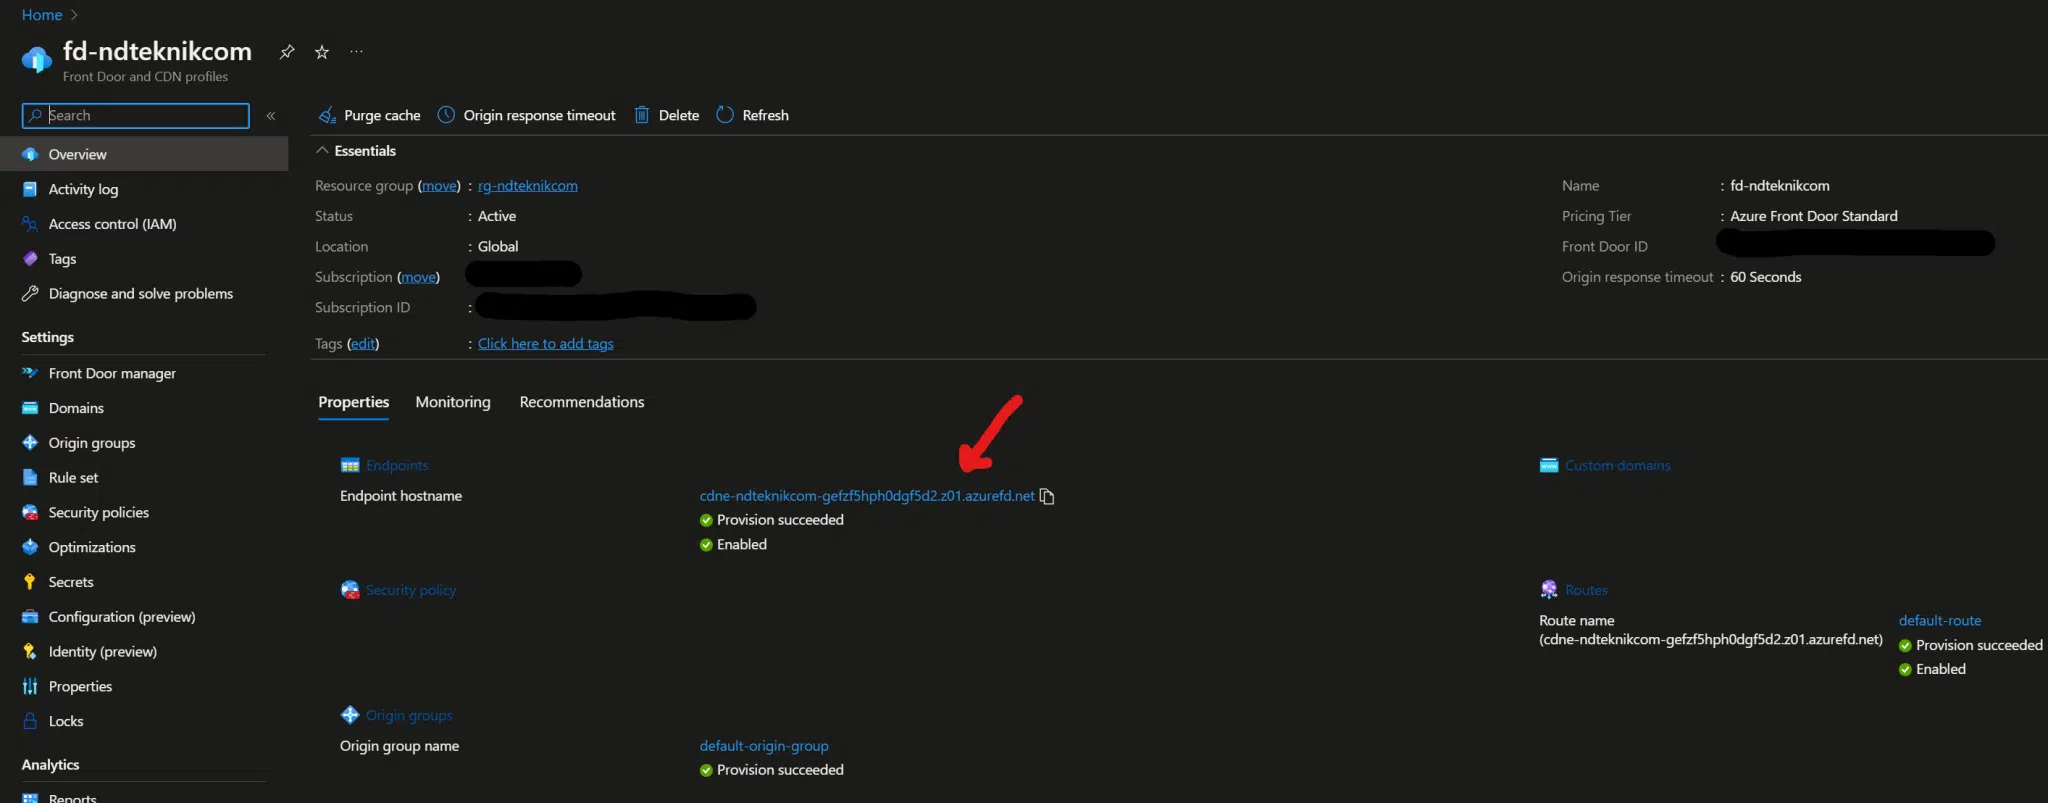
Step 4: Get the Endpoint
Once the CDN is ready, Azure provides an endpoint URL. This URL is then added to the CDN section of WP Rocket.
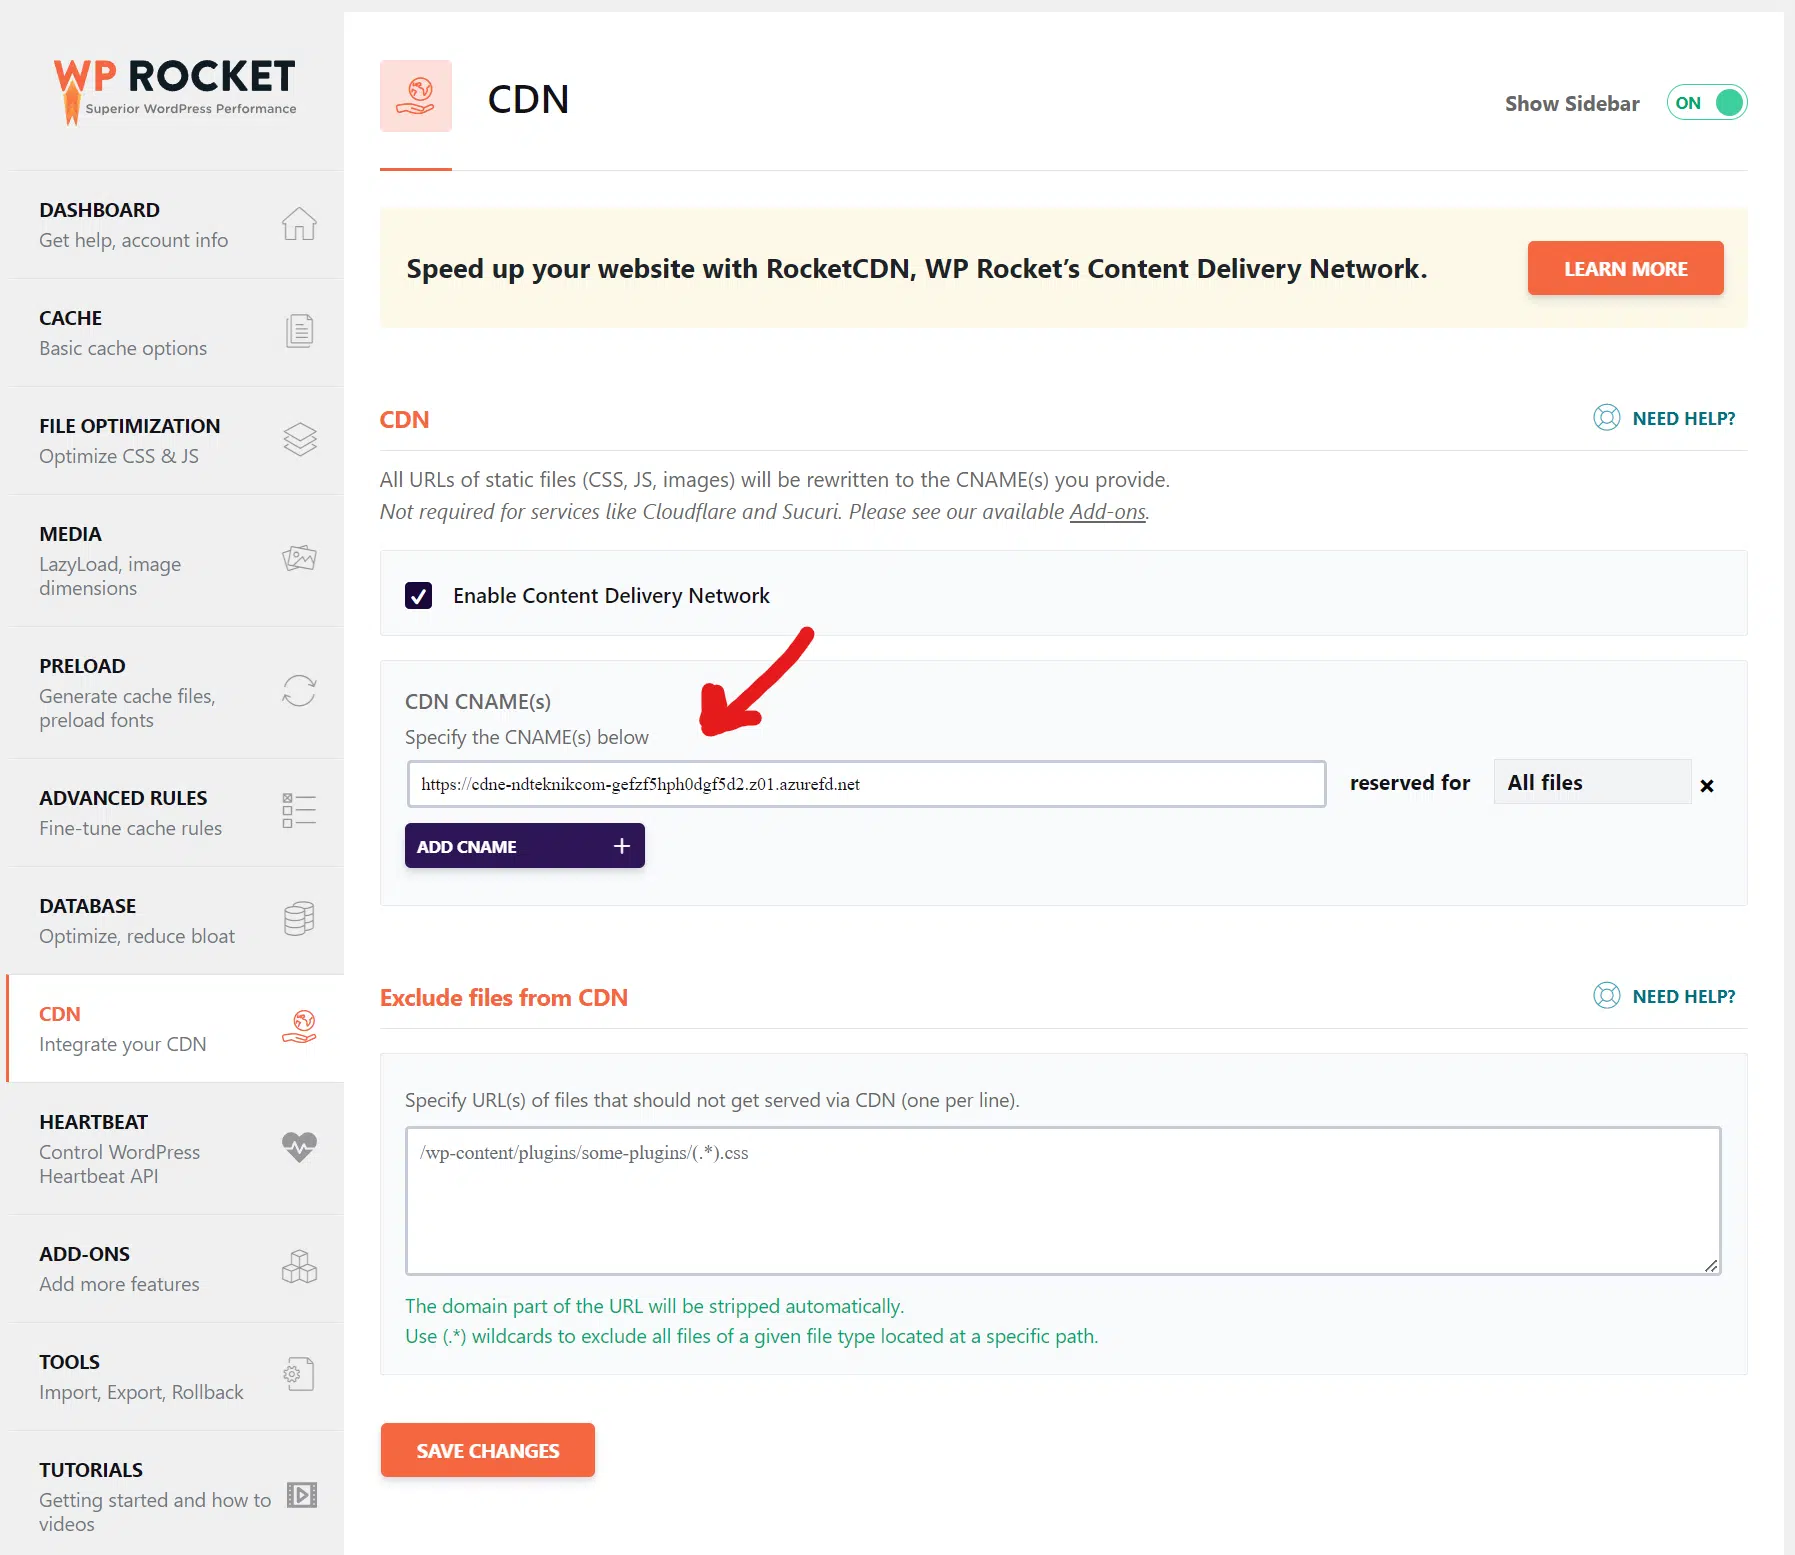
Step 5: Configure WP Rocket
In WP Rocket, navigate to the CDN section and add the endpoint URL. This ensures that your content is served through the CDN.
Conclusion
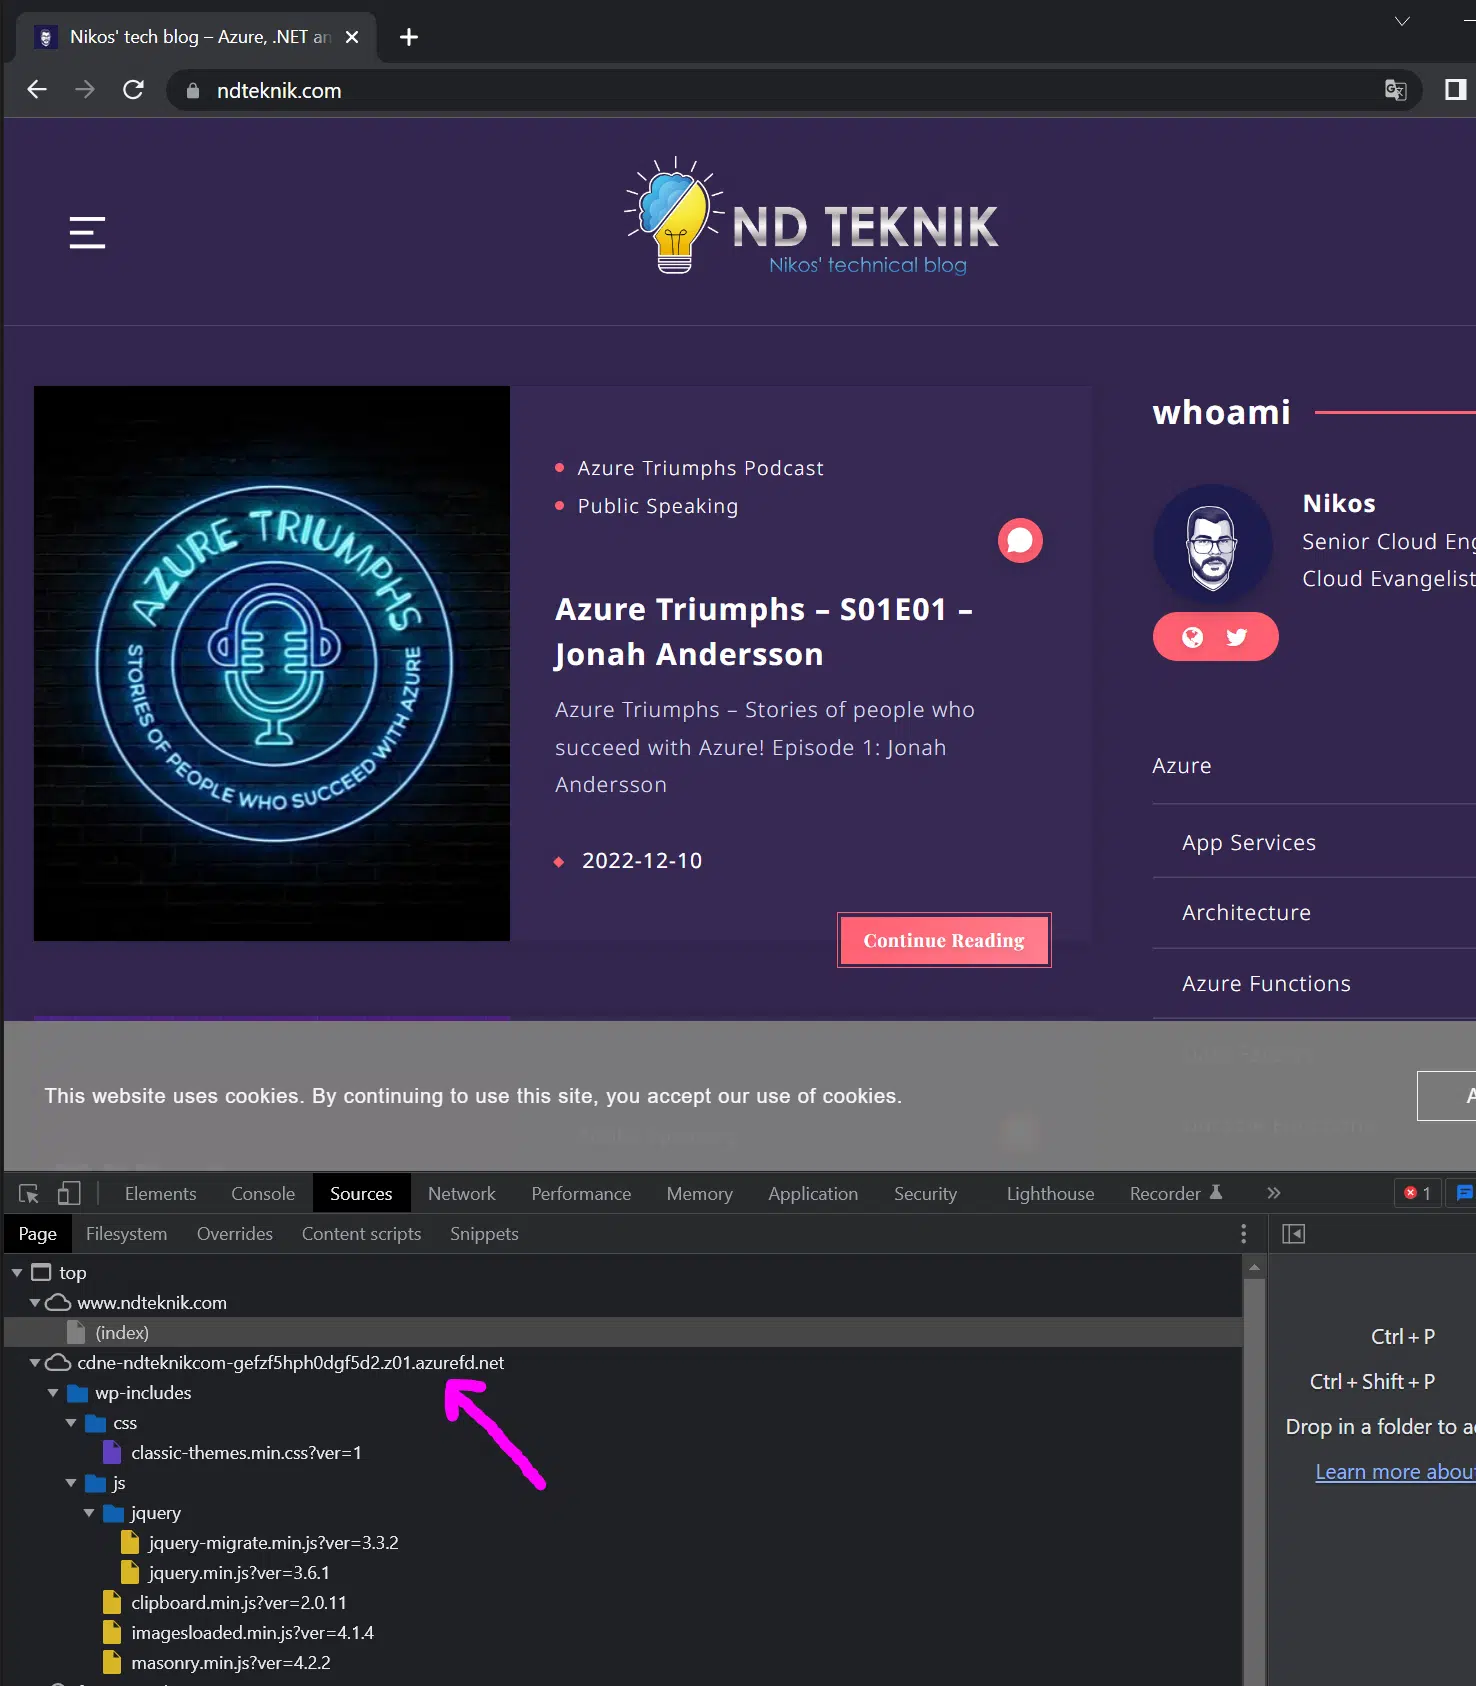
That’s it! Your WordPress site is now using Azure CDN to deliver content efficiently to users worldwide. You can verify that your content is being served from the CDN by inspecting the network requests in your browser’s developer tools.
Enjoy faster loading times and a better user experience for your global audience!